MQTT Client
Click MQTT Client, and you can add many connections to MQTT Broker.
Note that you need to create a connection first and select D2C telemetry messages to an MQTT broker.
To create an MQTT Client, following the steps below:
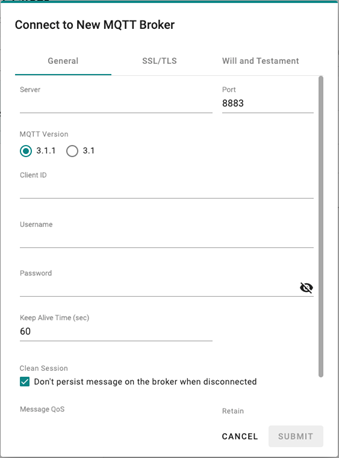
- Click ADD CONNECTION.
- Specify a Server (default port: 8883).
- Select an MQTT Version.
- Enter Client ID, Username, and Password.
- (Optional) Enable persistent session.
- Select a way of message QoS, and retain function on/off.
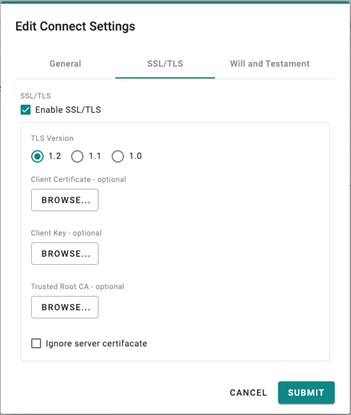
- (Optional) Enable SSL/TLC.
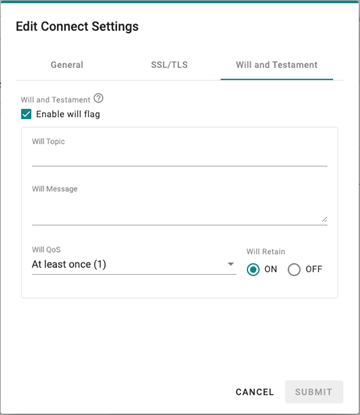
- (Optional) Enable will flag.
- (Optional) Select a way of message QoS and retain function for Will flag.
Note that data might be lost during the period of connection interval prior to network connection check(Keep Alive Time). It's suggested to either set a shorter interval of Keep Alive Time (e.g. 10 seconds) or enable QoS Exactly Once(2).
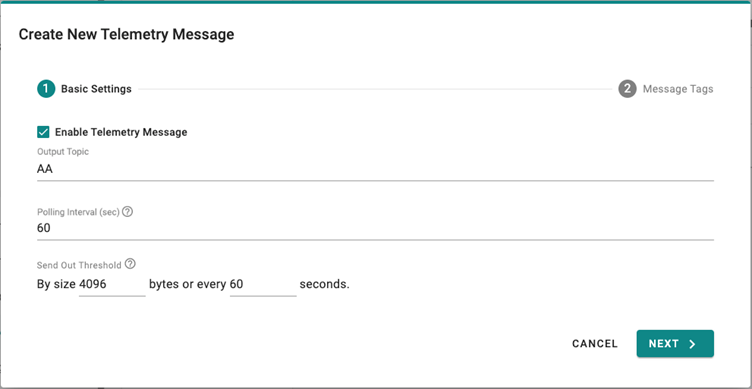
Once an MQTT Broker has been created, you can thus make a new telemetry message, following the steps below:
- Click + MESSAGE.
- Specify an output topic.
- Enter a time for the polling interval.
- Setup a threshold by size or a certain interval.
- Click NEXT.
- Select tags from provides (e.g., Modbus Master).
- (Optional) Enable custom payload by using the jq filter.
- Click SUBMIT.
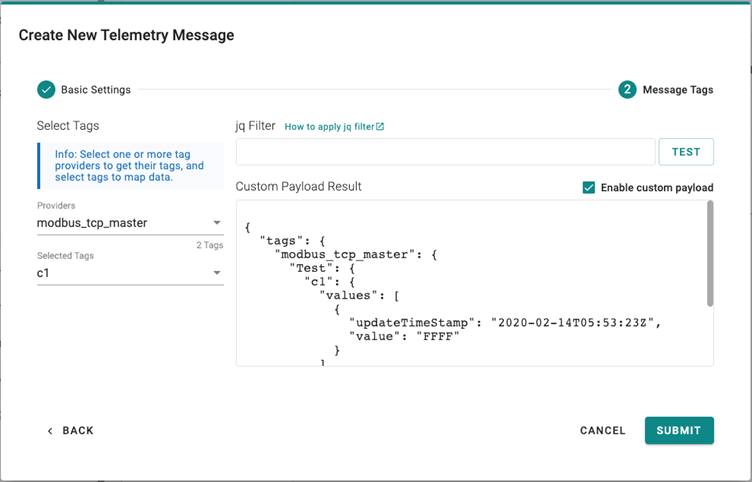
NOTE: The values shown in the Custom Payload Result are examples and not the real values.
Last updated on 2021-11-23 by alfredli