MQTT Client
Click MQTT Client, and you can add many connections to MQTT Broker.
Note that you need to create a connection first and select D2C telemetry messages to an MQTT broker.
To create an MQTT Client, following the steps below:
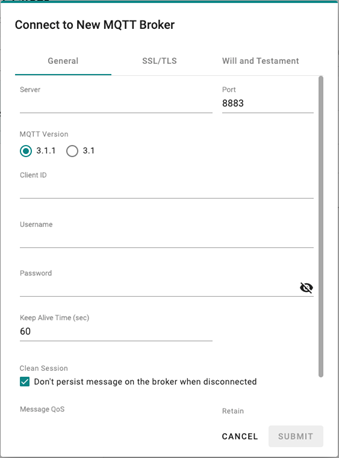
- Click ADD CONNECTION.
- Specify a Server (default port: 8883).
- Select an MQTT Version.
- Enter Client ID, Username, and Password.
- (Optional) Enable persistent session.
- Select a way of message QoS, and retain function on/off.
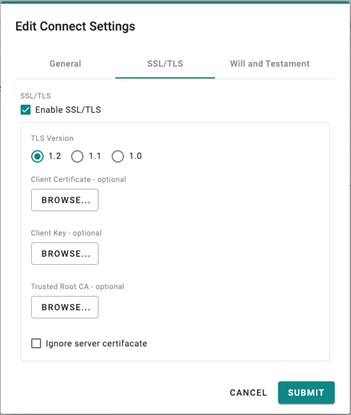
- (Optional) Enable SSL/TLC.
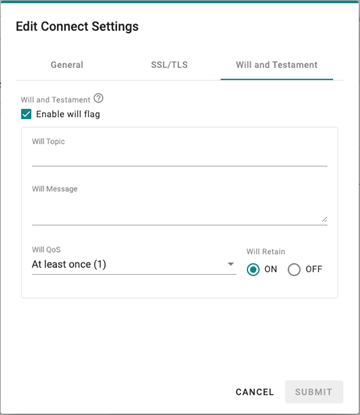
- (Optional) Enable will flag.
- (Optional) Select a way of message QoS and retain function for Will flag.
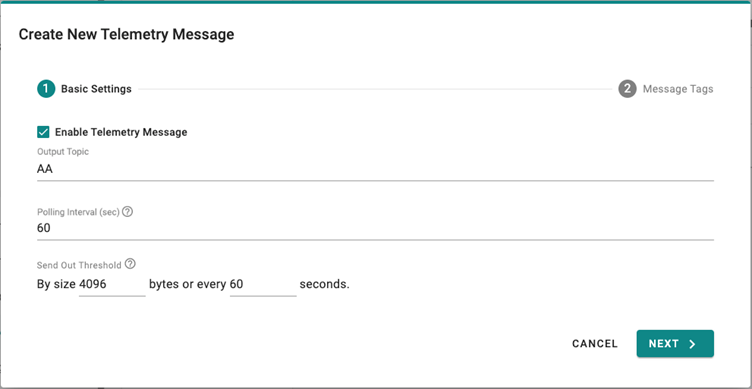
Once an MQTT Broker has been created, you can thus make a new telemetry message, following the steps below:
- Click + MESSAGE.
- Specify an output topic.
- Enter a time for the polling interval.
- Setup a threshold by size or a certain interval.
- Click NEXT.
- Select tags from provides (e.g., Modbus Master).
- (Optional) Enable custom payload by using the jq filter.
- Click SUBMIT.
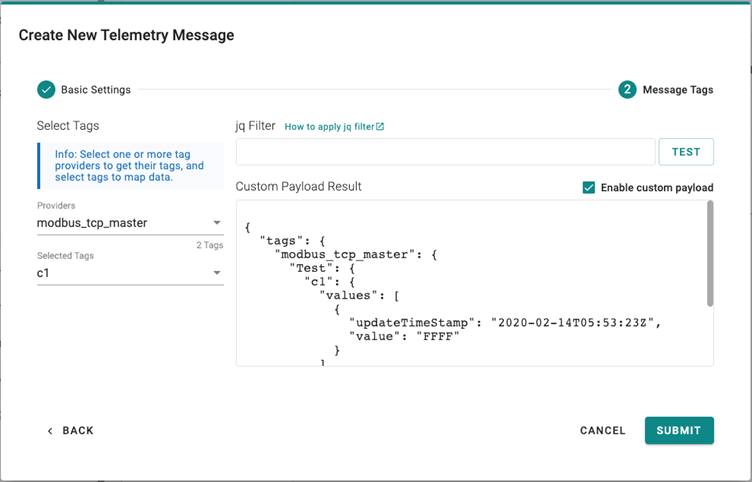
NOTE: The values shown in the Custom Payload Result are examples and not the real values.
Last updated on 2022-05-31 by Aeluin Chen (陳映攸)